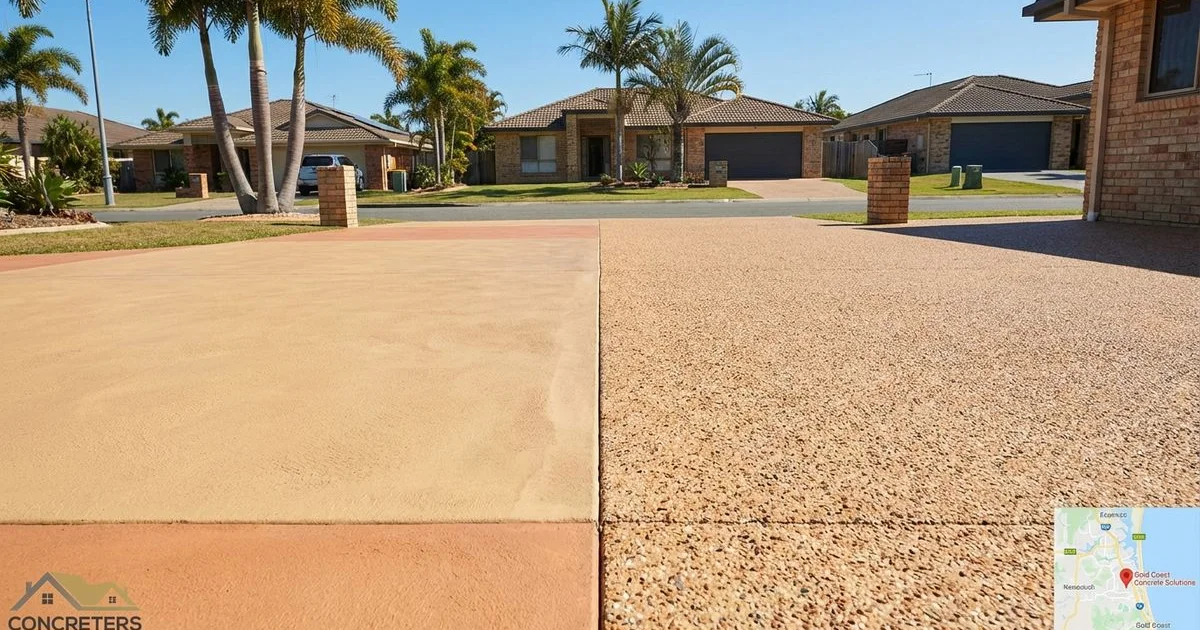
Concrete Slab Preparation: What to Expect Before the Pour
A step-by-step walkthrough of what happens during concrete slab preparation on the Gold Coast, from excavation to reinforcement to the final pour.
GC Concreting Team
[INPUT ARTICLE TYPE] Blog/Informational Article
[INPUT ARTICLE TITLE] Concrete Slab Preparation: What to Expect Before the Pour
[INPUT MDX CONTENT]
What Happens Before a Concrete Slab Is Poured?
If you have ever watched a concreter work, you know the pour itself is fast, frantic, and exciting. But from our experience, the real magic—and the difference between a slab that cracks in two years and one that lasts for forty—happens in the quiet days before the truck arrives.
We often tell clients that pouring a concrete slab is just the final signature on a week of hard calculation and manual labour. A solid 80% of the project’s success is determined before a single drop of wet concrete hits the ground.
In this guide, we are going to walk you through the exact preparation process we follow here on the Gold Coast. We will cover the specific council rules you need to know, the costs you should expect for things like excavation and mesh, and the critical “insider” checks that most people miss.
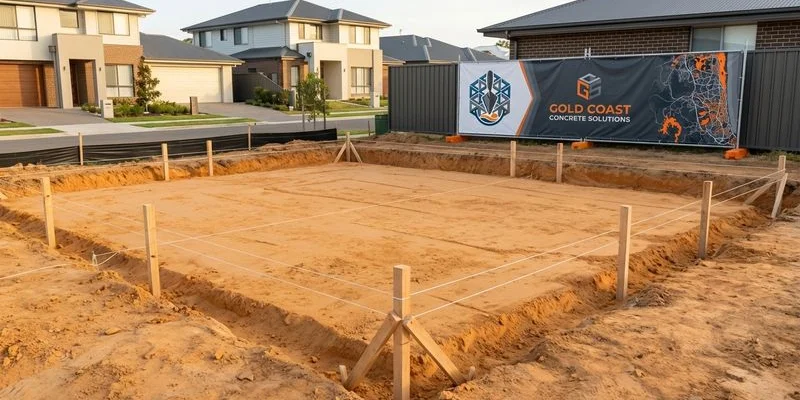
Step 1: Site Marking and Set-Out
Before we pick up a shovel, we need to know exactly where the slab is going and, more importantly, where it cannot go. We use laser levels and string lines to peg out the perimeter, but the most critical work here is actually administrative.
The “Hidden” Boundary Rules
Gold Coast City Council (GCCC) has strict setback rules that can catch homeowners off guard. Generally, you need a 6m setback from your front boundary for a carport or garage. On corner blocks, that secondary frontage usually requires a 4.5m setback.
If you build within these zones without a relaxation approval, you may be forced to tear it down.
Underground Service Detection
We never guess what is under the ground. Before marking out, we lodge an enquiry with Before You Dig Australia (BYDA)—formerly known as Dial Before You Dig.
While their official guidance says to allow up to 2 business days for plans, the new BYDA app (launched late 2025) often returns automated plans from Energex and Council within minutes.
Pro Tip: If the plans show services running near your slab, do not rely solely on the map. We always “pothole” (hand dig carefully) to visually confirm the exact depth of the pipe before bringing in heavy machinery.
Step 2: Excavation
Once the lines are set, we bring in the machinery. The goal here is to create a flat “pad” that sits at the correct height relative to your house and the street.
Choosing the Right Machine
Most residential jobs on the Gold Coast don’t need a massive excavator. We typically use a “combo” hire—a 3-tonne excavator paired with a Bobcat and a tip truck. This allows us to cut the soil, load it, and cart it away efficiently.
Typical Gold Coast Excavation Rates (2026 Estimates):
| Machine Type | Approx. Hourly Rate (+GST) | Best For |
|---|---|---|
| Mini Excavator (1.7t) | $95 - $110 | Tight access side-yards (under 1m width). |
| Bobcat / Skid Steer | $100 - $115 | Moving loose soil quickly on open sites. |
| Combo (Excavator + Tipper) | $120 - $140 | The standard choice. Digs and removes waste. |
Note: Most operators have a 3 or 4-hour minimum charge. For a standard driveway prep, budget roughly $400 to $1,500 depending on how much soil needs to be removed.
Step 3: Sub-Base Compaction
You can’t pour concrete directly onto dirt and expect it to hold. We install a layer of “road base” (typically crushed rock) to create a stable platform.
This layer acts as a shock absorber. When the ground moves—and it will move, especially in reactive clay areas like Robina, Coomera, and Ormeau—the sub-base spreads the load so the concrete doesn’t snap.
The Compaction Standard
We lay this material 100mm to 150mm thick and compact it in layers.
- The Test: For structural slabs, we don’t just “pat it down.” We use a penetrometer or proof roll (driving a heavy truck over it) to ensure there is zero bounce.
- The Material: We avoid “fill sand” for structural driveways. We stick to Class A Road Base or recycled concrete aggregate (RCA), which locks together tightly.
Step 4: Vapour Barrier Installation
Moisture is concrete’s silent enemy. To stop ground water from wicking up into your slab (capillary rise), we install a heavy-duty plastic membrane.
The “Orange Plastic” Standard
On the Gold Coast, you will often see us using bright orange or black plastic. This isn’t just a tarp; it is a specialized vapour barrier that must meet AS 2870 standards.
Key Installation Rules:
- Thickness: It must be a minimum of 0.2mm (200 microns) thick.
- Impact Resistance: It must be rated “Medium Impact” to survive workers walking on it.
- The Overlap: This is where DIYers fail. The sheets must overlap by at least 200mm and be fully taped down with 72mm duct tape to create a watertight seal.
If you skip the tape, you are leaving a highway for moisture to enter your home, which can rot timber flooring years down the track.
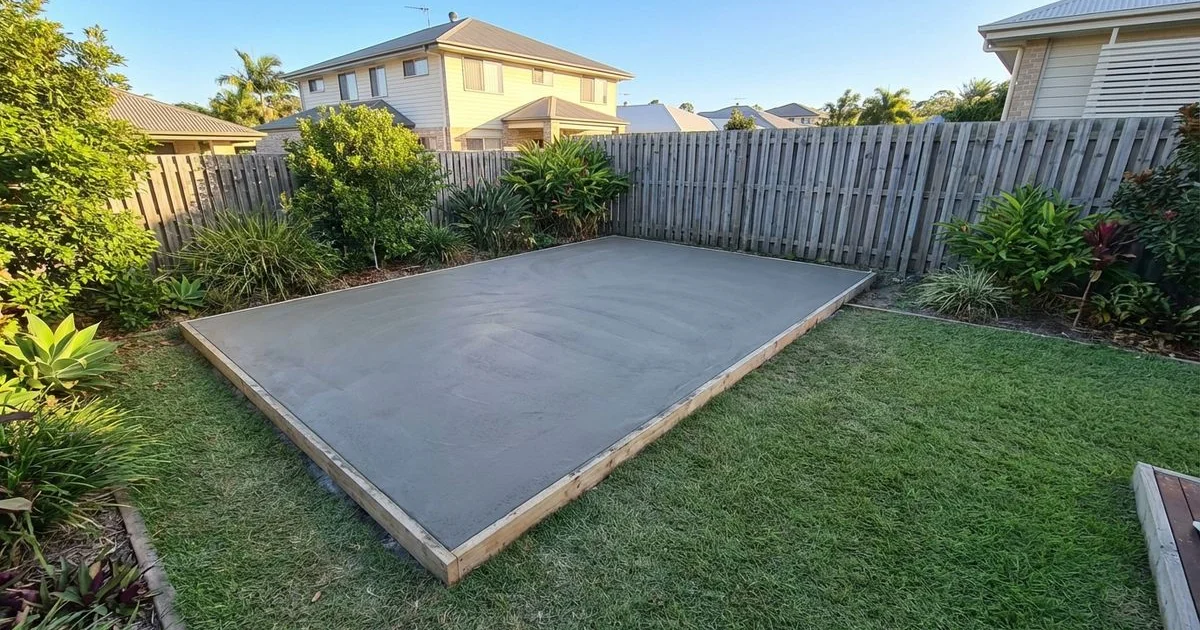
Step 5: Formwork
Formwork is the timber mould that holds the wet concrete in place. We generally use 100mm or 150mm pine boards, staked securely into the ground.
Levelling for Drainage
The most important part of formwork isn’t just straight lines—it’s the fall. For outdoor areas, we need water to run off, not pool in the middle.
We set the formwork to fall away from the house at a minimum ratio of 1:100 (that’s 10mm of drop for every 1 metre of length). For tiled areas, we might increase this to ensure water flows rapidly to the drains.
Insider Trick: We spray the inside of the timber forms with a release agent (often diesel or a specialized form oil) before the pour. This ensures the timber strips away cleanly the next day without chipping the fresh concrete edges.
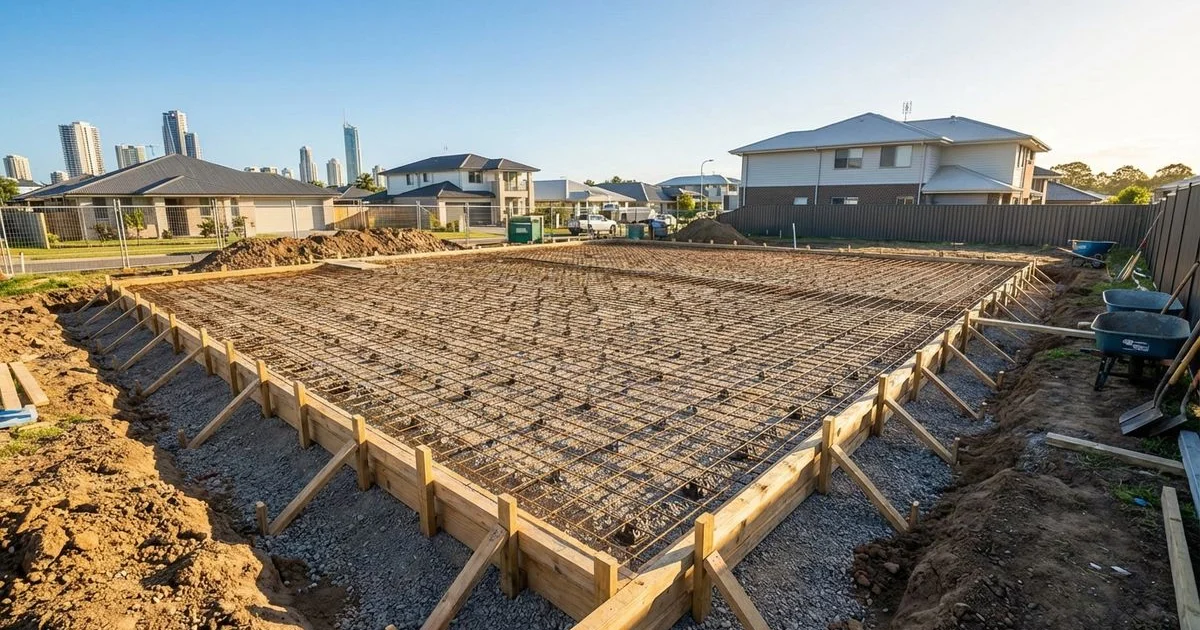
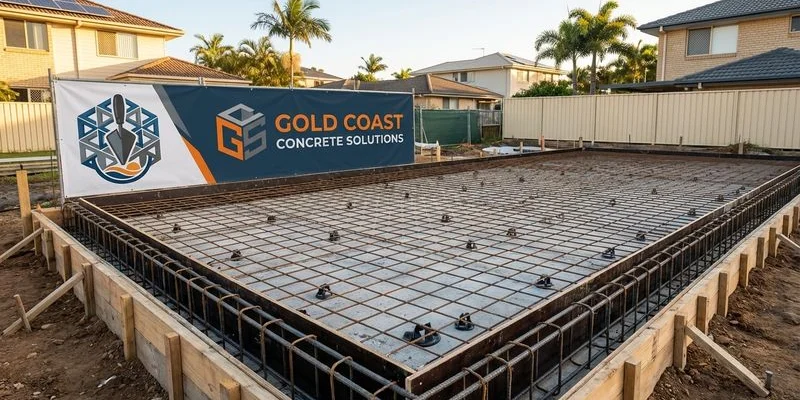
Step 6: Reinforcement
Steel mesh is what gives your slab tensile strength. Concrete is hard (good at resisting compression) but brittle (bad at resisting stretching). The steel holds it together when the earth shifts.
Comparing Mesh Grades
We see many quotes that look cheap because the concreter has downgraded the mesh. Here is the difference in cost and performance for a standard sheet (6m x 2.4m):
| Mesh Code | Approx. Cost (2026) | Typical Use |
|---|---|---|
| SL72 | ~$86 - $110 | Pathways, patios, and light foot traffic. |
| SL82 | ~$106 - $145 | Driveways and garage floors (Standard). |
| SL92 | ~$135 - $175 | Heavy-duty driveways (Trucks/Caravans). |
Our Recommendation: For a concrete driveway, the price difference to upgrade from SL72 to SL82 is negligible—maybe $150 total for a standard job—but the structural benefit is massive. We almost always recommend SL82 as the minimum for vehicle areas.
We place this mesh on bar chairs (plastic pyramids) to keep it sitting in the top third of the slab. If the mesh is sitting on the ground, it is useless.
Step 7: Pre-Pour Checks
The afternoon before the pour is our “quality control” time. We run through a strict checklist to ensure there are no surprises when the truck arrives.
The 5-Point Checklist
- Chair Height: Is the mesh sagging between chairs? We add extra chairs if needed.
- Cleanliness: We use a blower to remove leaves, sawdust, and loose dirt from the vapour barrier.
- Penetrations: Are the plumber’s pipes wrapped with foam (lagging)? This allows the pipe to move slightly without cracking the concrete.
- Weather: Gold Coast afternoons are famous for sudden storms. If rain is forecast >40%, we reschedule. Rain on fresh concrete can ruin the surface finish instantly.
- Access: Is the path clear for the concrete truck or pump?
Cost Alert: If the concrete truck cannot get within 3-4 metres of the formwork, we will need to hire concrete pumping services. You should budget an extra $1,500+ for this service in 2026.
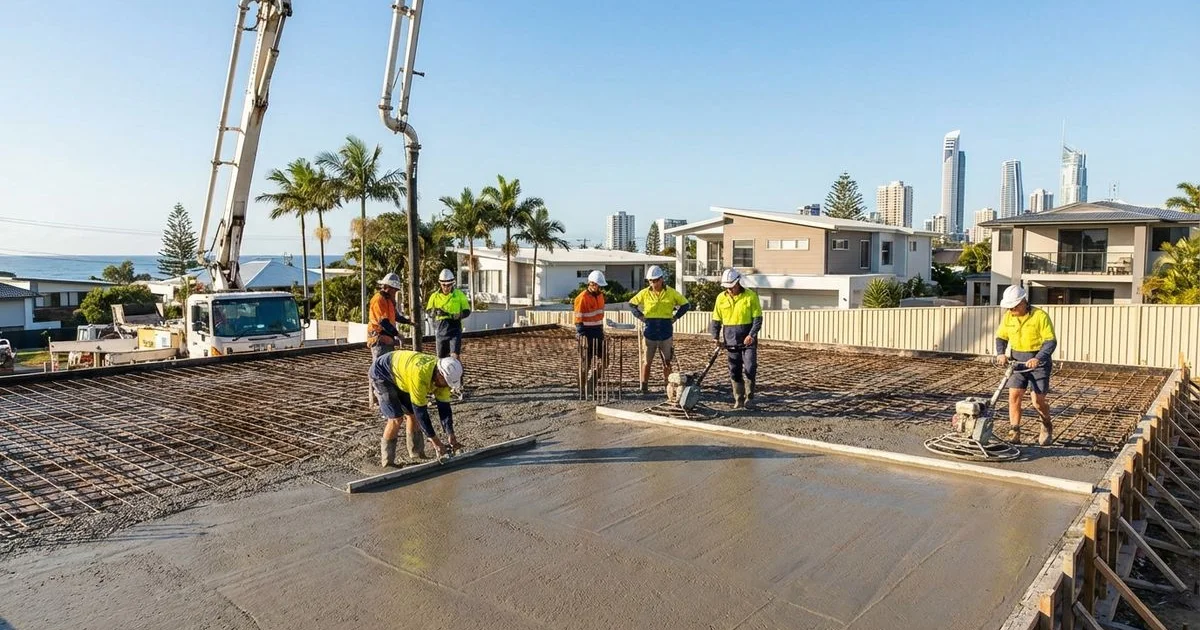
Step 8: The Pour
On the big day, timing is everything. Concrete typically costs between $400 and $450 per cubic metre (for 25MPa standard mix) on the Gold Coast, and once it’s mixed, the clock starts ticking.
We place the concrete, screed it level, and then “bull float” it to bring the creamy “fat” to the surface for finishing.
Managing the Heat
In our humid climate, concrete can “go off” (harden) too fast. To manage this, we often apply an Aliphatic Alcohol spray immediately after screeding.
This isn’t a curing compound; it’s an evaporation retarder. It forms a temporary film that stops the moisture from leaving the concrete too quickly while we are still working it, preventing those ugly “plastic shrinkage” cracks that look like little spiderwebs.
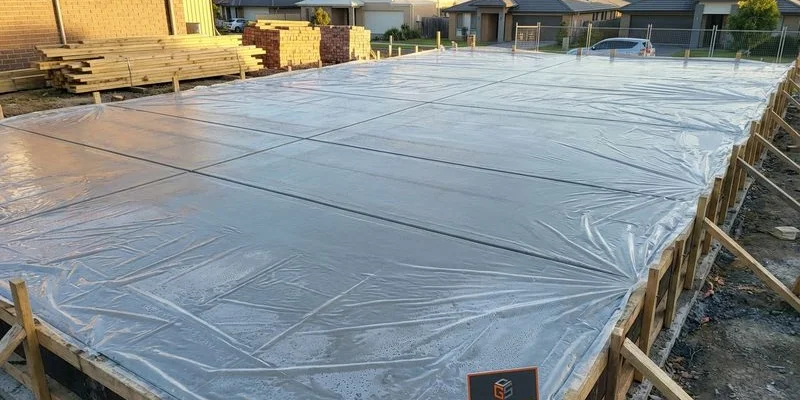
Step 9: Curing
The job isn’t done when the truck leaves. Curing is the process of controlling the moisture loss for days after the pour to ensure the concrete reaches full strength.
The 7-Day Rule
According to AS 3600 (the Concrete Structures code), concrete should ideally be cured for at least 7 days.
- Method 1: We often use a spray-on curing compound that seals the surface.
- Method 2: For the best possible result, we recommend keeping the slab wet with a sprinkler (ponding) or covering it with plastic sheets.
If you let a driveway dry out in the midday Gold Coast sun without curing, you lose about 50% of its potential surface strength. It will turn dusty and sandy within a year.
Why Preparation Matters
There is an old saying in our trade: “Concrete is only as good as the ground it sits on.” You can pay top dollar for the best mix and the fanciest exposed aggregate finish, but if the sub-base is soft or the mesh is too low, that slab will fail.
We take pride in getting these hidden details right. It means we sleep better at night, and more importantly, so do you—knowing your investment is solid.
If you are planning a project and want a team that obsesses over the prep work as much as the finish, get in touch with us. We are happy to look at your site and give you an honest assessment of what’s required.